Example:
Stick electrode DIN 913 - E 43 3 2 AR 7
Type of electrode Number of DIN standard
Code for manual electric arc welding
Code number for tensile strength,
yield point and elongation
Code number for impact
engergy of 28 Joule minimum
Code number for increased impact
energy of 47 Joule minimum
Code for coating
Code number for electrode class
3.1 Care of Stick Electrodes and their correct Use
3.1.1Coding of Stick Electrodes according to DIN 1913
In order to achieve a good weld the electrode has to be dry, thus storing in a dry place is essential- Should
electrodes have become moist, dry in an oven at between 200° C to 300° C for 30 minutes.
Basic coated low-hydrogen type electrodes always require pre-drying at 200° C to 300° C for 3 hours as atomic
hydrogen causes weld flaws.
The designation of welding electrodes is standardized by DIN 1913. The designation is stipulated by the
electrode manufacturers in accordance with the standard and checked by an inspection body. It is printed on
the electrode packet.
14
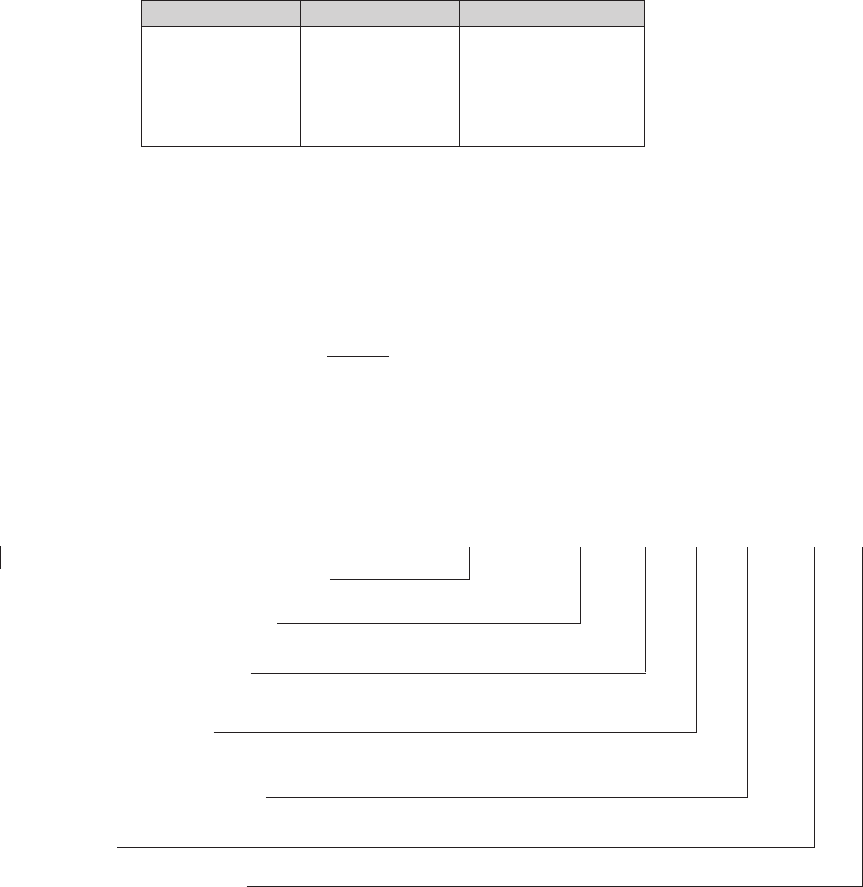
Select the correct welding current as shown below:
Current (A) Electrode Ø Material Thickness
25 - 50 1.0 - 2.0 mm 1.0 - 2.0 mm
50 - 100 2.0 - 2.5 mm 2.0 - 4.0 mm
100 - 140 2.5 - 3.25 mm 4.0 - 8.0 mm
140 - 220 3.25 - 5.0 mm 8.0 - 12.0 mm
220 - 300 5.0 - 6.0 mm 12.0 - 20.0 mm
In principle do not use too thick an electrode. As a general rule calculate 40 amps welding current per 1 mm of
electrode diameter. Depending on electrode type, material thickness and weld position this calculated value may
have to be adjusted to plus or minus. All machines work well with thin plate from 1.0 mm thickness.
3 General Information for Welding Transformer/Rectifier Operators
Dust, dirt and metal chips will harm any welding machine. It is of particular importance that the air ventilation for
cooling is not obstructed.
A weld should join two work pieces as if they were made from a single piece. Prior to the welding the joints must
be cleaned and dirt, rust, grease and paint removed. Also slag from previous welds must be completely removed.
Attach earth clamp firmly to work piece, assuring good metal to metal contact. Check that all cables and
connectors are in proper operating condition to ensure proper current conduction.
Place electrode with the uncoated end into one of the electrode holder's notches. Each welding machine is
supplied complete with an accessory kit, comprising the welding cables, a welding visor and a slag hammer.
When removing slag it is recommended to protect the eyes by suitable means (goggles) from injury by sharp and
hot slag. The welding visor's dark glass plate protects the eye against ultra-violet and infrared rays. The clear
glass plate protects the dark plate against spatters and damage. The dark protective glass is available in different
shades for different types of electrodes and to suit different eye sensivity. Normally for electrodes from 1.5 mm
to 4 mm Ø protective glasses of shade DIN 9 are used, for electrode over 4 mm Ø shade DIN 10.
Attach earth clamp to the workpiece, close to the weld seam and on bare metal for good conduction.
Place stick electrode into the electrode holder.
With the handwheel select the desired welding current.
If there is not power outlet near the work area an extension cable is required. The cable's lead cross section must be
at least 2.5 mm
2
. Uncoil extension cable fully to prevent heatbuild-up by inductance. Inductance also conside-rably
reduces the welding current. Extension of the welding cables is also possible, but the cross section of the extension
cables must be larger than that of the cables supplied with the machine.
Every machine is protected against overloads by a thermo switch, which switches the power to the transformer off if it
becomes too hot. After a short cooling-down period the machine will switch back on automatically. Model SB 200 CT
is equipped with a fan for forced cooling, given better performance with a higher duty-cycle.


 (39 pages)
 (44 pages)


 (52 pages)
 Manymanuals.com
 Manymanuals.de
 Manymanuals.fr
 Manymanuals.it
 Manymanuals.pl
 Manymanuals.cz
 Manymanuals.es
 Manymanuals-pt.com
Comments to this Manuals